Living in England is lovely, for the most part. I can only really fault it on two things: the weather and the bread. I have tried a few bakeries and some supermarket options; it's just not good. The best bread I have bought so far is this M&S frozen sourdough.
I have made my own bread (sourdough or not) on multiple occasions, as well a number of other breads like burger buns, pizza dough, flatbreads, focaccia, piadina, etc. I therefore was not exactly unable to satiate the French craving for good bread but rather couldn't afford the sustained time and effort it would take to enjoy it everyday.
So after trial and error, lots of googling, I believe I have cracked it!
Why you should try it:
Using the Mother dough, you will be able to eat fresh bread everyday if you want to. It involves minimal kneading and can be prepared in batches. I usually make a literal 6L bucket of dough and it lasts me anywhere between a week (carb heavy) and two weeks (not everyday bread) for two people. Both of whom, really, really enjoy bread.
In short:
- It has never failed me so I think it's super beginner friendly
- It's the least amount of effort you can do to have proper bread
- Store bought bread is disgusting both in taste and for your health
- it's fun!
What you need:
- a Dutch oven (5L is versatile)
- a LARGE container (6L if you are doing the same quantities as me)
- flour (bread flour or regular) - always buy more than you think you need
- active dry yeast or your own sourdough starter
- salt
- water
- a big wooden spoon or something strong to stir
Ingredients :
- 910g flour
- 680g water
- 12g yeast (adjust if using sourdough starter*)
- 10g salt
*If using sourdough starter:
To replace 1 tablespoon of yeast (about 9g), you will need an amount of sourdough starter that is about 25-30% of the flour weight. Sourdough starter is 50% water and 50% flour so you need to reduce both water and flour in your recipe by 0.5 x the weight of the sourdough starter.
If you can't be bothered to do maths (it hurt me to do the above already), just go for this:
- 774g flour
- 544g water (warm)
- 273g sourdough starter
- 10g salt
Preparation steps:
- put the warm water and yeast or sourdough starter in the bucket and stir gently
- Add the salt and the flour, give it a quick mix. It will look messy-sticky-gross and definitely not like dough but we don't care.
- Let the mixture sit at room temperature, covering the bucket with the lid (NOT closed, just sat on top) or a kitchen towel. We want it all contained but we need air to go in. Let it be for about 2 hours.
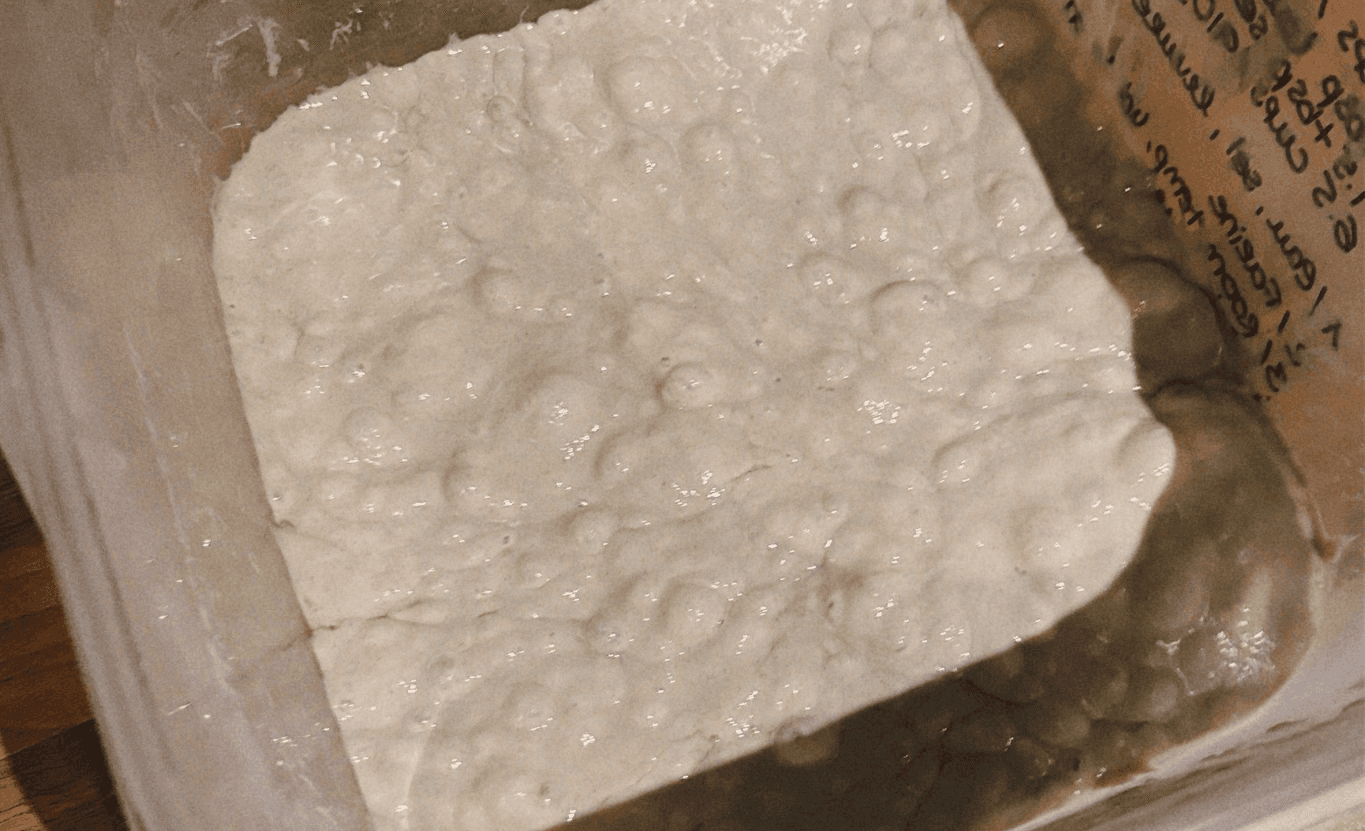
- The dough should now have doubled in size (if not, let it rest a bit longer) and be quite bubbly.
- That's it. Now just put the bucket in the fridge, lid on but not fully (it still needs to breathe). Got to bed or enjoy the day and we get back to this in 12 hours minimum.
Baking steps:
- Preheat the oven at 220 Celsius on Fan
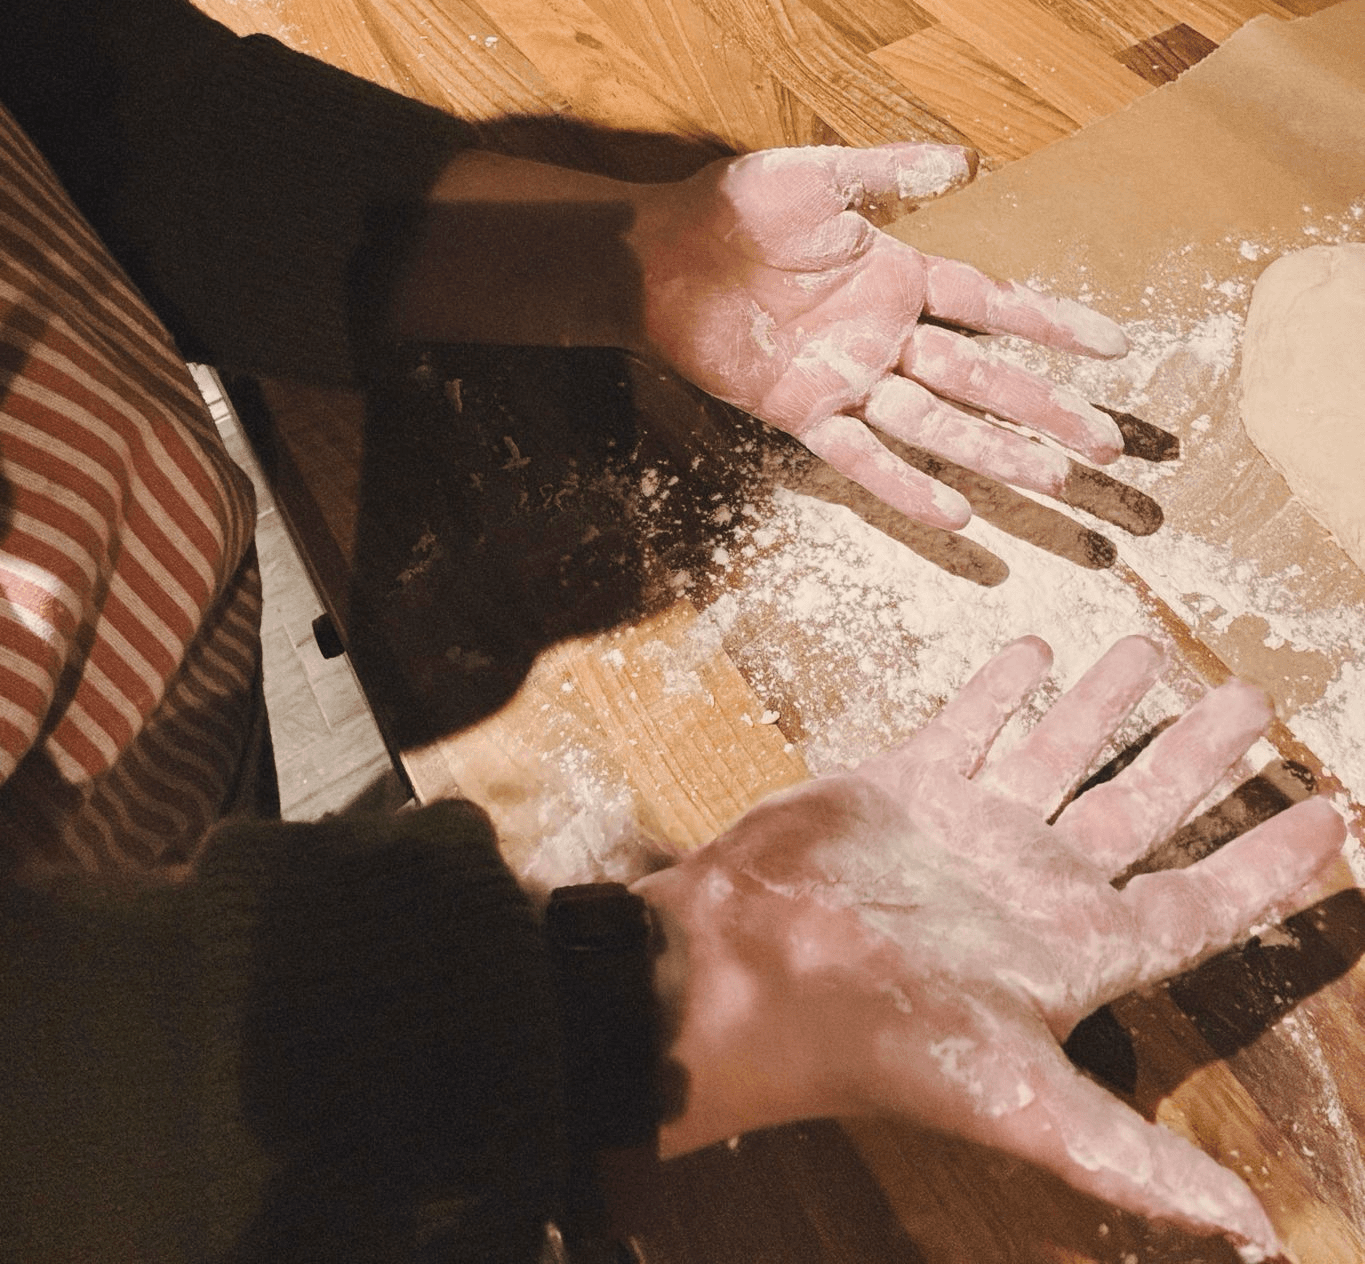
- grab some of your dough. It will be very elastic and quite sticky so use flour generously to shape a rough ball. Optional - Play with it a bit, fold and stretch - it will make your inner child happy. Leave it for now, on the counter, uncovered.
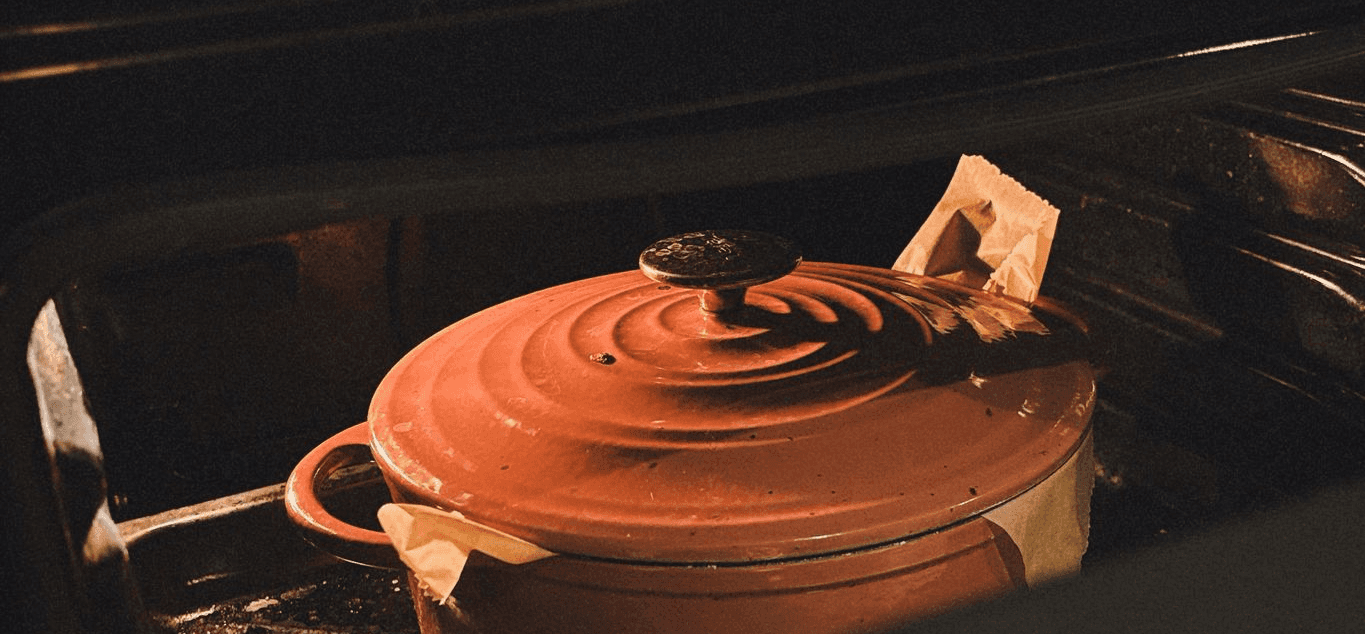
- put the empty Dutch oven, with its lid on, in the oven.
- set a timer for 30 minutes
- get some parchment paper, put your dough ball on it, drop this all in your Dutch oven.
- score the dough (scissors or knife cuts at the top) and put the Dutch oven lid on.
- bake for 30 minutes
- remove the lid and bake for another 15 to 25min (depending on the size of your loaf
- enjoy!
Tips and tricks:
- Never underestimate how much your dough could rise, always assume it will double in size. I have had to clean my fridge because I made that mistake - it's a pain.
- do NOT cut your bread when it's piping hot and fresh out of the oven. I am not sure why but it makes it go rubbery faster than it would otherwise.
- do NOT cover, wrap or put your bread in the fridge. It will alter texture in an unpleasant way. Instead just keep it out on the chopping board. Once you have had a piece, the cut part (no crust) should be facing the board to prevent it from drying.
- if you grab some of the dough, flatten it with no resting time and cook it in a pan, you will get flatbreads.
- if you stretch some dough flat on an oiled or parchment covered baking tray, let it rest 30min and cover with toppings, you will get pizza.
- if the bread goes stale, don't panic - it makes for great French toasts or Pappa al pomodoro (top it with Burrata, trust me)!
- if you plan on making this every other week, write the recipe on the bucket with a sharpie.
Stuff I use:
- The bucket
- My Dutch oven (I definitely did not pay full price for it so I assume discounts happen often enough, keep an eye out)
Want to streamline your cooking even further? My meal prep guide helps you get the most out of your homemade dough and more!
